I spent most of my career on my feet, and I never gave my balance a second thought until I had a fall in 2019. I hurt my right shoulder and spent a long time rehabbing it, and it took months to trust my footing again. Since then I've learned that balance is not something you're born with. It's a skill, and like any skill it improves with practice. You don't need a gym or a trainer. You need a flat surface, a chair, and about ten minutes a day. The change is gradual, but it's real. I notice it every time I walk down stairs without reaching for the rail.
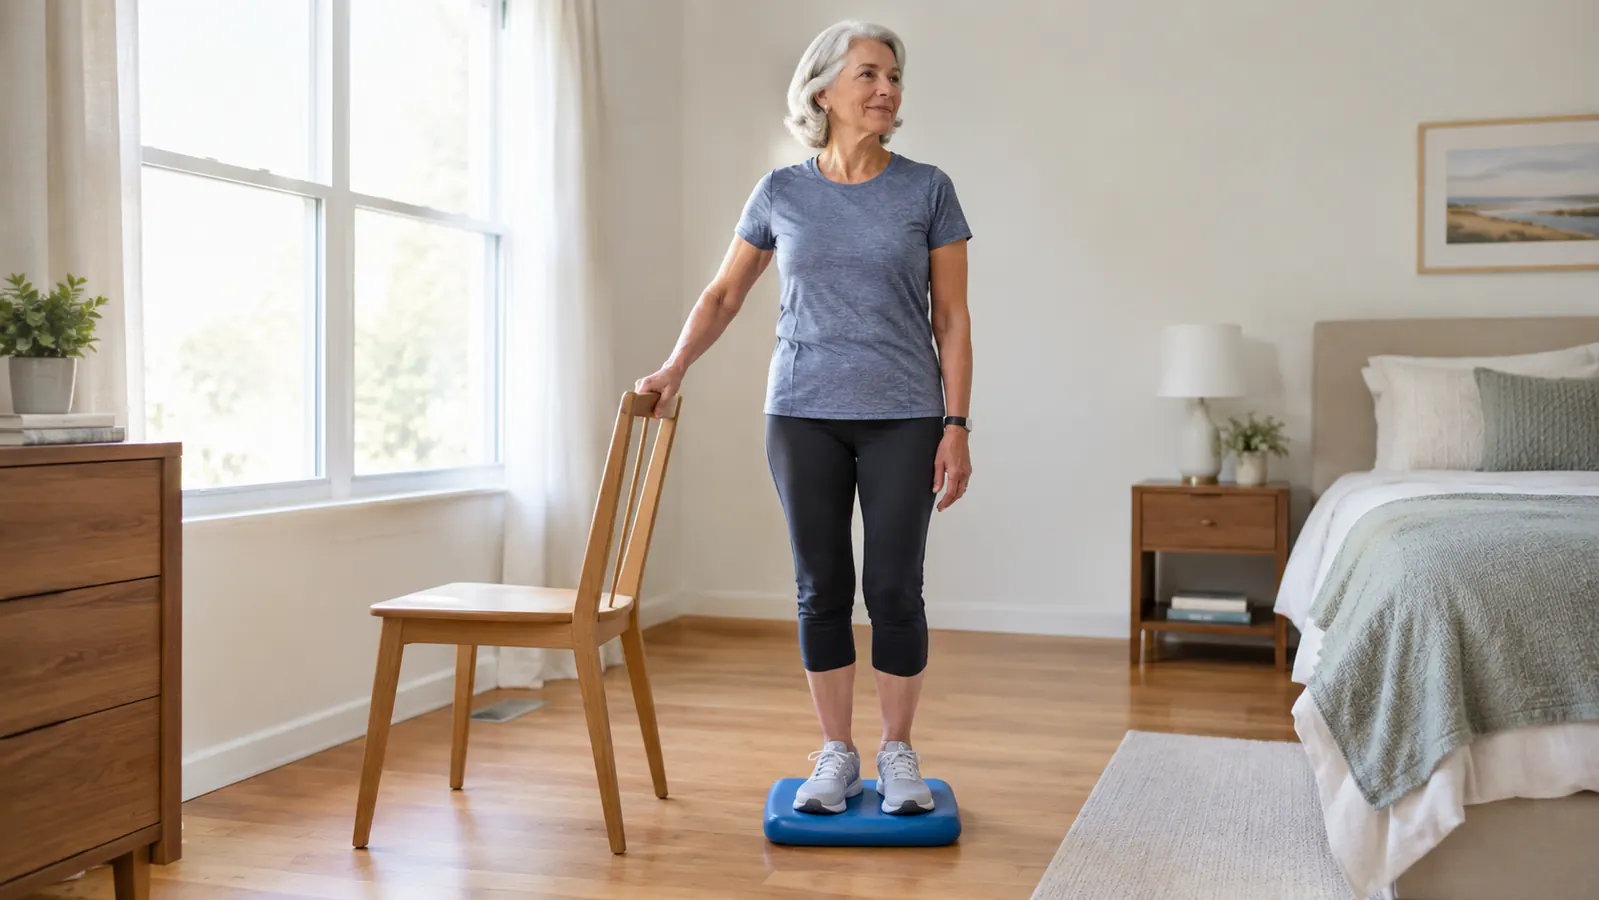
A balance pad is simply a thick piece of foam that gives you an unstable surface to stand on. That wobble forces the small muscles in your ankles, knees, and hips to work, and over time they get stronger and quicker. I use a ProsourceFit balance pad in my spare bedroom three times a week, and it has made a real difference to how steady I feel on stairs and on the river trail. This article is the exact routine I follow, written so you can do it in a small room with a chair nearby. No equipment beyond the pad and a chair, no special shoes, and no need to clear the whole room.
Start With the Right Pad
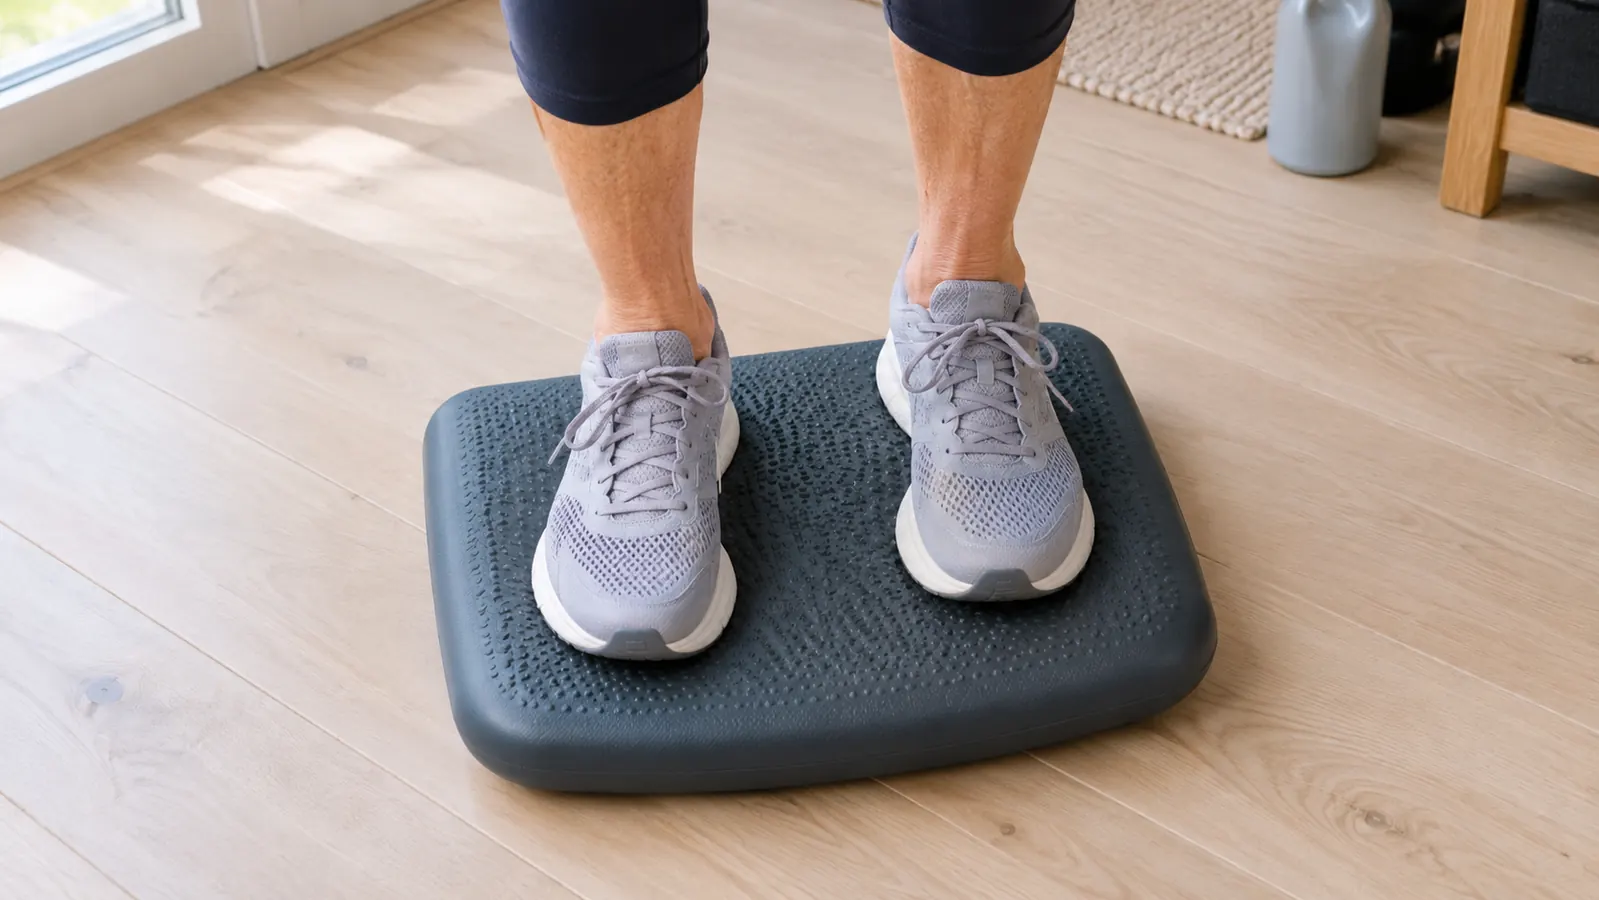
A good balance pad should be firm enough to hold your weight, non-slip on both sides, and about two inches thick. The ProsourceFit pad I've used for six months has held up well, and it's the one I'd buy again. Check the current price on Amazon, but the pad itself is the part that matters most.
Amazon Check Today's Price on Amazon →What You'll Need
You only need three things: the balance pad, a sturdy chair, and bare feet or non-slip socks. I keep my pad in the closet next to my bedroom, and I pull it out when I do my strength work. The whole routine takes about twelve minutes. Wear comfortable clothes, and make sure the chair is against a wall or heavy enough not to tip. If you have a knee that complains, like mine does on stairs, you can keep one hand on the chair the whole time.
A Few Safety Notes
Safety first. Always place the pad on a flat, non-carpeted surface. I use it on a hardwood floor with a mat underneath, but a low-pile carpet works too. Avoid thick rugs that can bunch up. Keep the chair close, and make sure it's sturdy. I use a wooden dining chair that doesn't slide. If you're worried about slipping, you can wear non-slip socks or go barefoot. The pad itself has a textured top, so it's grippy, but your feet should be dry.
Start slow. If you've never used a balance pad, the first few sessions might feel awkward. That's fine. Listen to your body. If you feel sharp pain, stop. A dull ache in your calves is normal, but joint pain is not. If you have a medical condition that affects your balance, talk to your doctor first. This routine is meant to be gentle, but everyone is different.
Step 1: Stand Tall and Find Your Center
Place the pad on the floor in front of a sturdy chair. Hold the back of the chair with one hand, step onto the pad, and let your feet settle hip-width apart. Soft knees, shoulders back, gaze forward. The first time you stand on foam, it feels like the floor is moving. That's normal. Your body is learning to make tiny adjustments it hasn't needed in a while.
Stay on the pad for thirty seconds, then step off. Rest for ten seconds, then repeat. Do this three times. Over the first week, work up to a full minute per set. The goal is not to hold the chair tightly, but to use it as a safety net while your ankles learn to make small corrections on their own. You'll notice your calf muscles working. That's the point. The pad turns a simple stand into a gentle workout for your lower legs.
Keep your weight even across both feet. Don't let your hips shift to one side. If you feel wobbly, slow down. There's no rush. This step is about building a habit, not achieving a perfect balance on day one.
Step 2: Shift Your Weight Side to Side
With both feet on the pad, hold the chair with one hand and slowly shift your weight to your right foot, then to your left. Move at a pace that feels controlled, not rushed. Do ten shifts each direction, then take a break. You should feel the pad compress under your foot as you move. That compression is what trains your ankle to respond.
The second part of this step is front and back. Rock forward onto the balls of your feet, then back onto your heels. Again, ten slow rocks. These movements teach your ankle to respond to small changes in pressure, which is exactly what happens when you step off a curb or walk on uneven ground. It's the same motion you use when you catch yourself on a slippery sidewalk.
Keep your movements small. You're not trying to do big lunges. You're teaching your body to make tiny adjustments, and those tiny adjustments are what keep you upright when you stumble. If you feel a pull in your calf, that's normal. Stop if it hurts, but a gentle stretch is part of the exercise.
Step 3: Single-Leg Stands With Support
Hold the chair with both hands, lift one foot a few inches off the pad, and balance on the other leg for ten to fifteen seconds. Then switch. Do three on each side. If ten seconds feels like a lot, start with five and build up. I started with five seconds and was surprised how quickly it improved.
As you get more confident, reduce the support. Hold the chair with just one hand, then with one finger. Eventually you may not need to touch it at all, but keep it within reach. I still keep my hand near the chair, because the moment I stop respecting the wobble is the moment I lose my balance. The pad doesn't move much, but it moves enough to keep you honest.
This exercise is where I noticed the biggest change. After about three weeks, my standing leg stopped shaking. That trembling is your muscles firing, and it calms down as they get stronger. The same leg that used to shake now holds me steady when I'm reaching for something high in the kitchen.
Step 4: Add a Small Movement
Once single-leg stands feel steady, add a gentle movement. While balancing, raise one arm overhead, then the other. Or do a slow knee lift, bringing your knee up to hip height and lowering it. The key is to move slowly and stay in control. I like to do arm raises because it also works my shoulder, which I hurt in that fall.
Another option is a mini squat. Lower yourself a few inches, as if you're sitting into a chair, then push back up. Keep your knees behind your toes and your weight in your heels. Do five of these, then rest. The pad adds a gentle wobble that forces your core to engage, so you're working more than just your legs.
The point of this step is not to build muscle. It's to challenge your balance while your body is doing something else. That's how balance works in real life. You're not standing still when you reach for a high shelf or bend to pick up a bag. The more you practice moving while balancing, the more automatic it becomes.
Step 5: Make It a Habit
Do this sequence three times a week, on the same days as your strength work. Consistency matters more than intensity. Ten minutes of practice three times a week will do more than an hour once a week. I've found that if I miss a week, my balance slips a little. It comes back quickly, but it's easier to stay consistent.
After a month, you can add one more challenge: close your eyes for a few seconds while you balance, with the chair right in front of you. Your body relies on vision for balance, so closing your eyes makes the exercise harder. Start with two seconds, then five. Keep the chair close. I tried this after six weeks and it was surprisingly hard, which tells me how much I depend on sight.
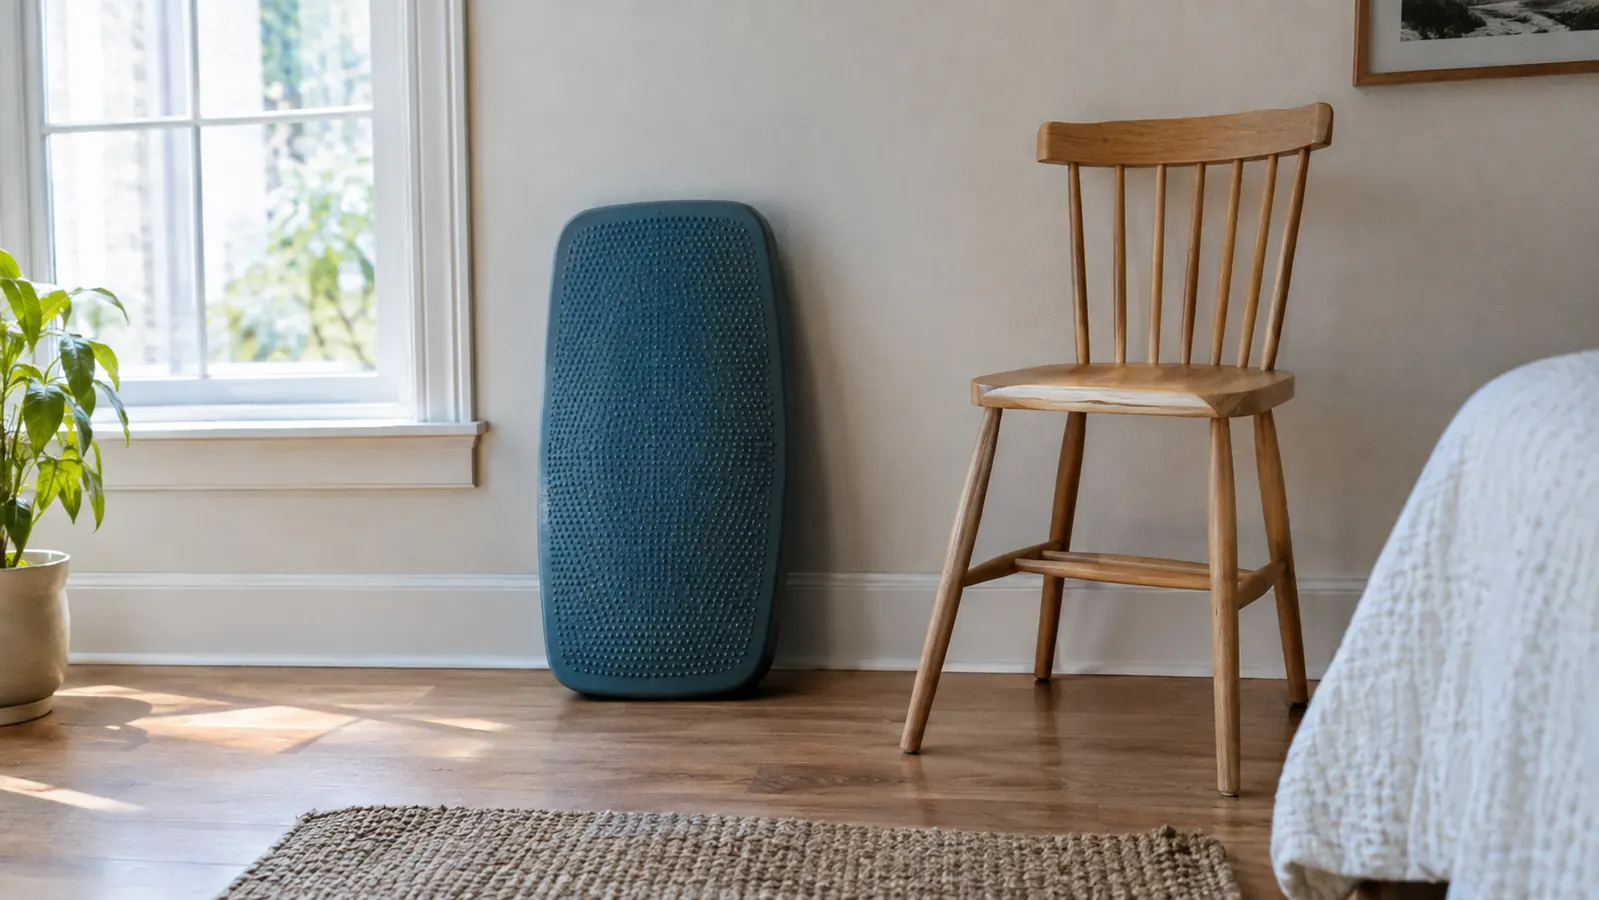
Write it on your calendar or pair it with something you already do, like after your morning walk. I do mine right after my strength session, when I'm already on the mat. That keeps it simple and I never skip it. The pad lives in the closet, so it's out of sight but easy to grab.
What Else Helps
Balance training works best when it's part of a wider routine. I walk three to four miles most mornings on a river trail, and I do light strength work three days a week. The balance pad has become one of the pieces of that routine, not a replacement for it. Walking on uneven ground, practicing standing on one leg while brushing your teeth, and even dancing, I take a community swing dance class on Thursdays, all help. The pad is a focused tool, but it's not the only one.
The key is to keep your body guessing. When you do the same exercise every day, your body adapts and it gets easier. That's good, but it also means you're not challenging yourself anymore. So every few weeks, add a new variation. Maybe you balance on one leg for longer, or you do a small squat with your eyes closed. The pad itself can be used in different positions, too. Some people stand on it with one foot, others use it as a knee pad for gardening. Find what works for you.
After six weeks, I stopped grabbing the chair every time I stepped onto the pad. That was the moment I knew it was working.
Final Thoughts
Balance is one of those things you don't appreciate until you lose it. I learned that the hard way. But the good news is that it comes back with practice. Ten minutes on a balance pad, three times a week, has made a real difference in my confidence. I don't think about my footing on stairs the way I used to. If you're in your fifties or sixties and want to stay steady on your feet, this is a simple, low-cost way to start.
Keep It Simple
You don't need a fancy setup. A good pad, a chair, and ten minutes a day is enough. The ProsourceFit pad is the one I trust, and it stores flat in my closet when I'm done. If you're thinking about adding balance work to your home routine, this is a solid place to start.
Amazon Check Today's Price on Amazon →