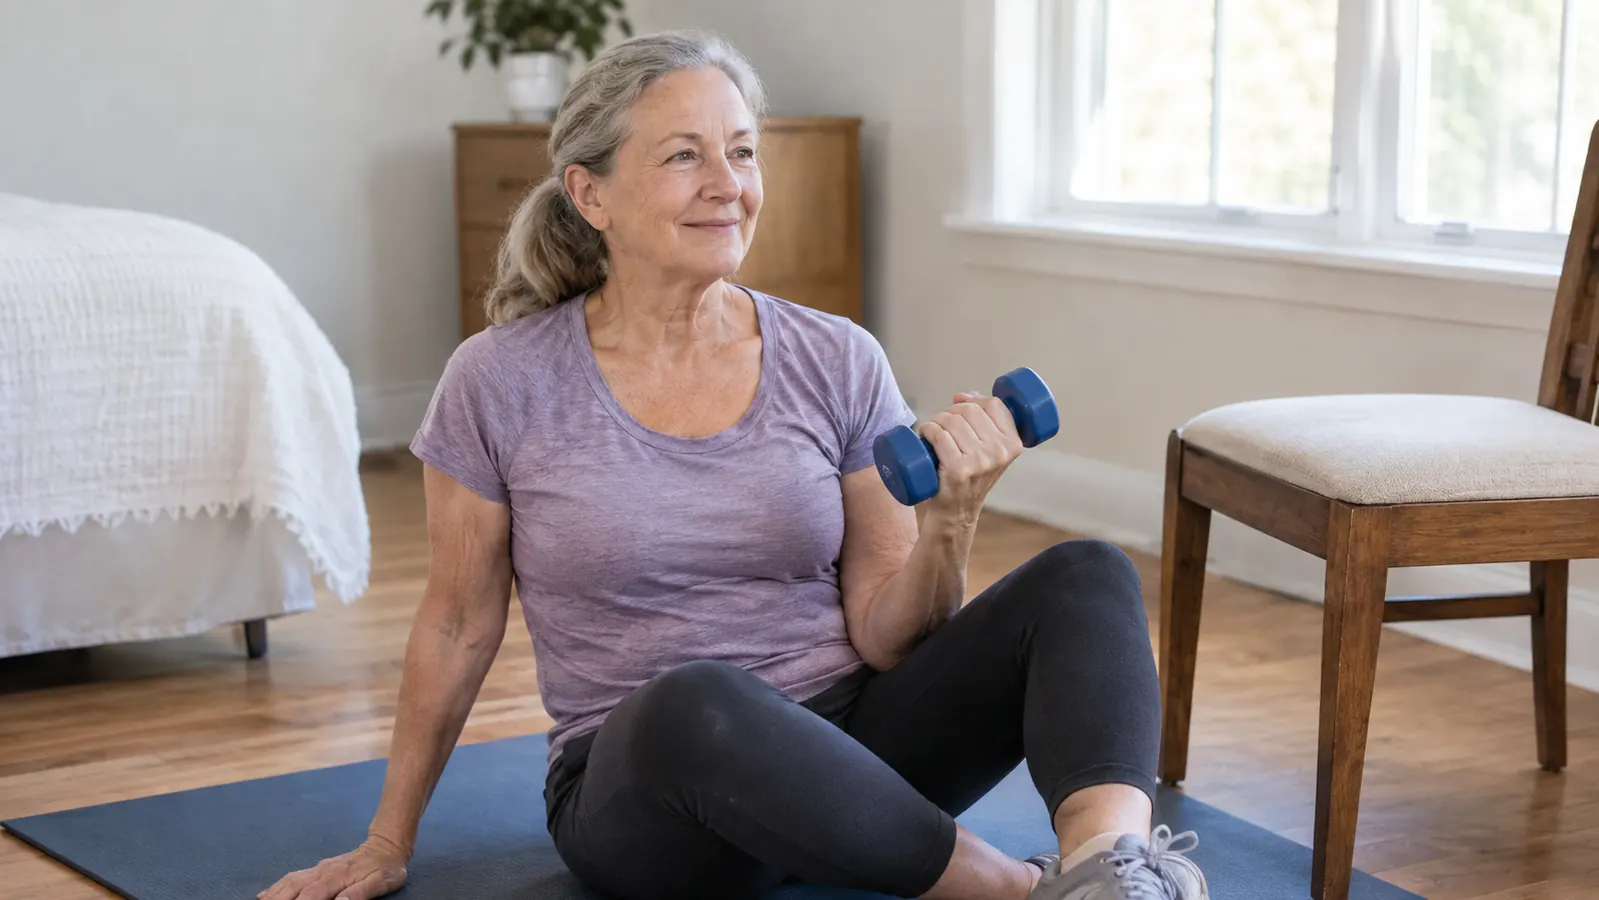
When I turned 62, I started noticing small changes. Carrying a full grocery bag up the porch steps took both hands. Getting up from the garden after weeding took a plan. The first time somebody said the words strength training to me, I pictured a gym full of chrome racks and people grunting. That was never going to be me. So I started at home with the plainest setup I could find: a pair of Yes4All neoprene dumbbells, a mat, and a corner of the spare bedroom I call the small room. Eighteen months later, that plain setup still does the job three mornings a week.
This article is the plan I wish someone had handed me that first week. It is not about building muscle for show. It is about staying able to do the things you already do: carry groceries, get up off the floor, and keep dancing on Thursday nights. My left knee complains on stairs and after long drives, and my right shoulder is one I rehabbed after a fall in 2019. So everything here is low impact, uses light weight, and stops the moment something feels wrong. The routine below is the one I actually do, not the one a trainer would design for a 25-year-old. Strength training is not about how much you lift. It is about making everyday life easier, and the weight on the dumbbell is just a tool. You do not need a gym membership, a bench, or a trainer. You need about 20 minutes, a sturdy chair, a mat, and one light pair of dumbbells.
The 20-Minute Strength Routine That Fits in a Spare Room
This plan needs exactly three things: a mat, a sturdy chair, and one light pair of Yes4All neoprene dumbbells. That is the whole list. Check today's price on Amazon before you set up your mat.
Amazon Check Today's Price on Amazon →Step 1: Set Up Your Space So You Actually Use It
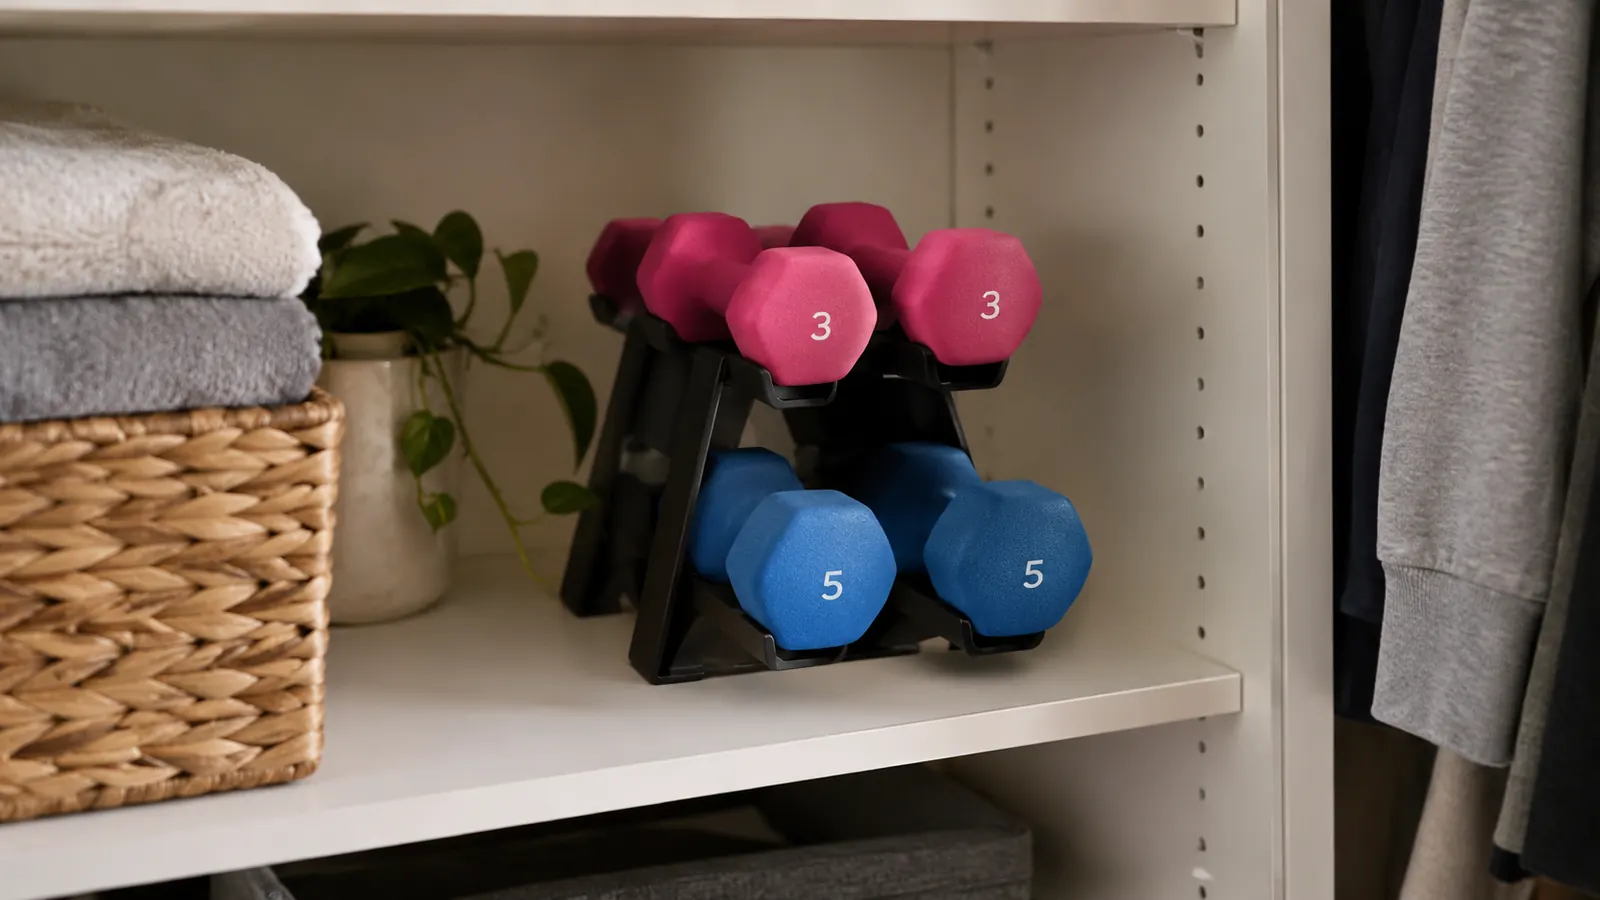
Before my first workout, I cleared a rectangle on the hardwood floor in the small room. The room is about 10 by 11 feet, and I only needed a strip of about 6 by 4 feet for the mat. I moved a sturdy chair against the wall for balance, and I put the dumbbells on a small rack that slides into the closet when I am done. Nothing stays on the floor, because this room is also where I sort laundry and wrap gifts.
Make it easy on yourself. If the mat is under the bed, you will skip the workout. If the weights are in the garage, you will skip the workout. My rule is that the mat comes out on Monday, Wednesday, and Friday mornings after my walk, and the whole setup goes back in the closet before the coffee finishes brewing. I also keep the dumbbells beside the mat the night before so there is no decision to make in the morning.
One more detail: put a timer where you can see it. You are not chasing a personal record. You are keeping honest rest between sets. I set mine for 60 seconds between rounds, and I do not start the next round until it beeps. That single habit is what keeps the routine from turning into a rushed, sloppy ten minutes. If you miss a session, do not double up the next day. Just pick up on the next scheduled day and move on.
Step 2: Learn the Grip and the Brace Before You Lift
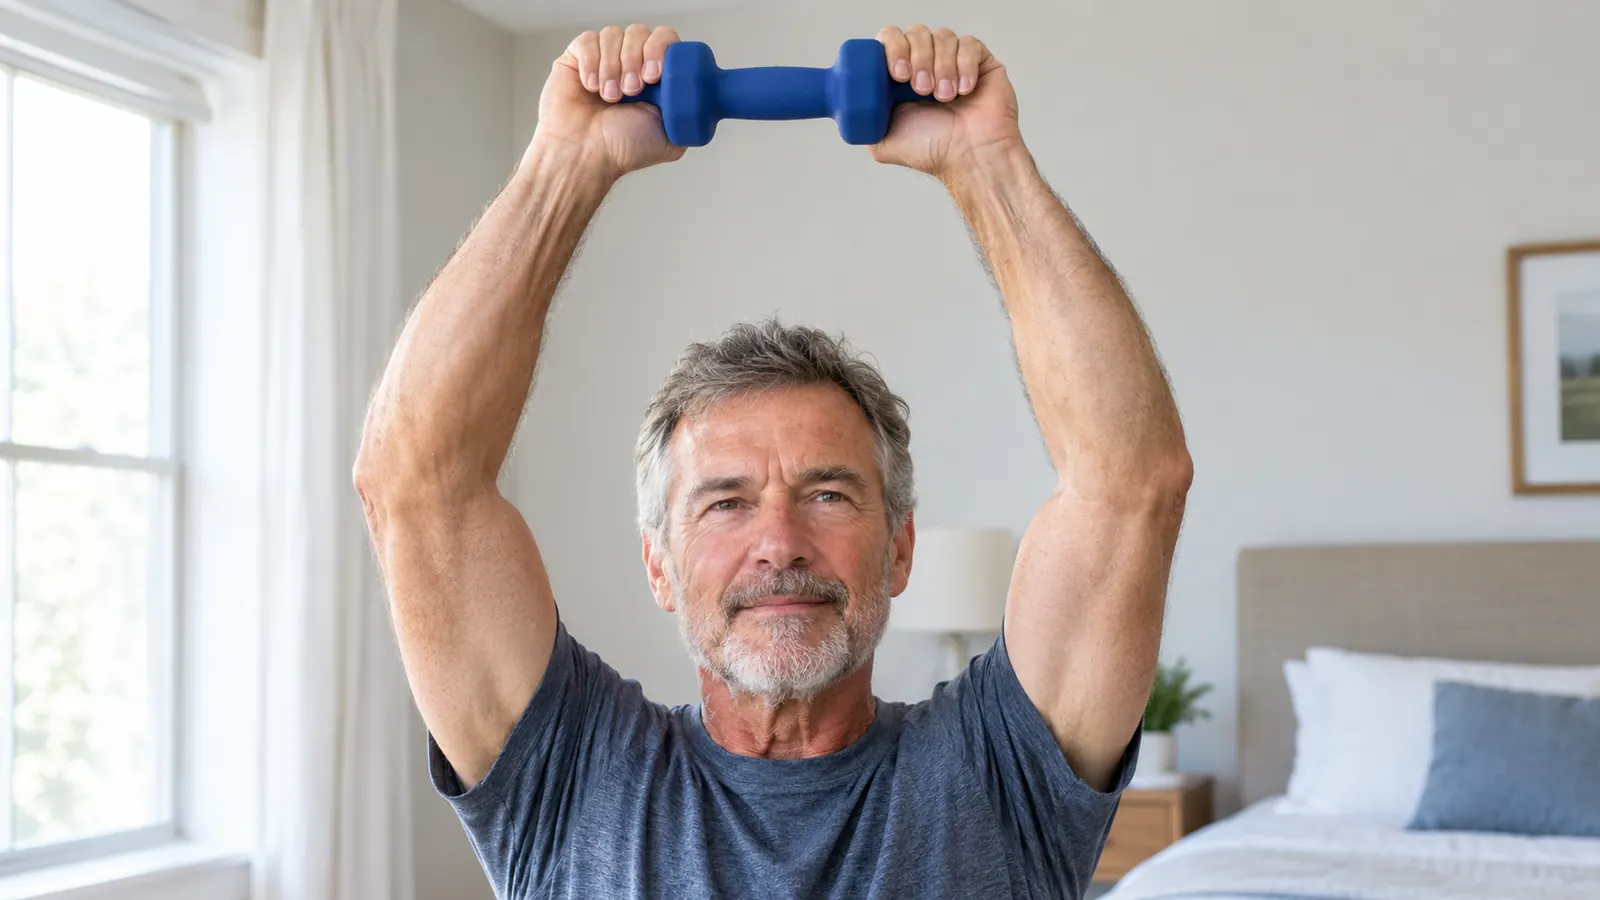
With a light dumbbell in each hand, practice holding the handle without strangling it. The grip should be firm but relaxed, and your wrist should stay straight, not bent back toward your forearm. This matters most for anyone with a shoulder that has been through something, because a bent wrist sends strain up the arm and into the joint. I learned this after my 2019 fall, and it made every press and row feel safer. Grip strength is one of the first things to fade as we age, so treating it as part of the workout is a good habit, not an extra chore.
The brace is the part I wish I had learned years earlier. Stand tall, pull your navel gently toward your spine, and imagine someone is about to tap your belly. Keep that light tension through every exercise. It protects your lower back and makes each movement more deliberate. You are not sucking in. You are simply switching on the muscles that hold you upright. Practice the brace while you brush your teeth for a few days, and it will feel natural by the time you pick up the weights.
Do this in front of a mirror once before you pick up the weights. You are not looking for a pose. You are checking that your shoulders are not hiking up toward your ears. If they are, put the dumbbells down and practice with just your hands. Good form with no weight beats sloppy form with weight every single time. And if a movement pinches or grabs, stop. There is no badge for finishing a set that hurts.
Step 3: Master Five Movements Before You Add Anything Else
You do not need fifteen exercises. You need five that cover the basics and that you can do with a chair and a mat. I do them in the same order every session so I never have to think about what comes next. Here are the five, and why each one earns its place.
Sit-to-stand from a chair keeps stairs and getting out of cars easy. Hold the dumbbells at your sides, sit tall, and stand without pushing off your knees. Wall push-up builds pushing strength without loading your wrists. Place your hands on the wall at shoulder height, step back, and lower your chest toward the wall. Seated overhead press works your shoulders. Sit on the chair, dumbbells at shoulder height, press up until your arms are straight, then lower slowly. Bent-over row works your back. Hinge forward from the hips with a flat back, let the dumbbells hang, and pull them up toward your ribs. Glute bridge works your backside and your lower back. Lie on the mat with knees bent, feet flat, and lift your hips toward the ceiling, squeezing at the top. The press also helps with reaching for a high shelf, the row helps with carrying bags and opening heavy doors, and the bridge helps with getting up from the floor, which is the movement I most wanted to keep.
Every one of these has an easier version. The wall push-up can be done against a kitchen counter. The row can be done with no weight until your back feels solid. The glute bridge can be done with feet closer to your hips. Start easier than you think you need to, because the goal is to be able to do all five again on Friday. The movement pattern matters more than the number on the dumbbell. I would rather see you do five clean squats than ten wobbly ones.
Step 4: Build a Routine You Can Repeat on Autopilot
Here is the exact routine that works for me on Monday, Wednesday, and Friday. It takes about 20 minutes from the first warm-up step to the last shoulder roll. Warm up with a slow march in place for two minutes and some arm circles. Then do two rounds of the five movements: 10 sit-to-stands, 10 wall push-ups, 8 overhead presses per arm, 10 rows per arm, and 12 glute bridges. Rest about 60 seconds between rounds. Finish with a slow walk around the room and a few deep breaths. I keep the dumbbells beside the mat the night before so there is no decision to make in the morning.
Two rounds might sound like nothing. On week one, I was sore in places I had forgotten about, mostly my backside after the bridges. That is normal. The soreness should feel like a reminder, not a punishment. If you cannot talk through a movement, the weight is too heavy or the pace is too fast. Back off and try again the next session. If a joint hurts, stop that movement for the day and try it again next time. I do not count reps obsessively. I count to keep honest, but I stop if the movement turns ugly. The last rep should look like the first rep. If it does not, you have done enough.
Keep the routine deliberately boring. Boring is what makes it repeatable. I do not change exercises every week. I change them when they stop feeling challenging, and even then I swap only one at a time. The consistency is the point. Three short sessions a week will do more for you than one heroic session that you quit after a month. The same three days each week, the same order, the same chair, the same mat. That sameness is what turns a plan into a habit.
Step 5: Progress Slowly and Keep a Simple Log
Progress at 62 does not mean adding weight every week. It means adding one rep here, one round there, or noticing that your balance is steadier. I keep a small notebook with the date, the sets, and how each movement felt. That notebook is the thing that stops me from guessing. It is also the thing that keeps me going on mornings when I would rather stay in bed.
When you can finish both rounds with good form and still feel like you could do one more, add a third round. When three rounds feel easy, add one or two reps to a single movement, not all of them. After a few months, if the dumbbells feel light, that is the time to think about the next size up. Yes4All sells pairs in several sizes, so you can move up without changing brands. I started with a very light pair, and I still use them for the overhead presses while I use a slightly heavier pair for rows and bridges. The neoprene coating gives the handles a soft grip, which helps when your hands are dry from a morning walk.
Expect plateaus. Around month four, I stopped feeling sore and started wondering if any of this was working. That is when the notebook helps. You see that you started with 8 overhead presses and now do 12, or that you stand up from the chair without thinking about it. That is the win, and it is easier to see on paper than it is in the mirror. Give yourself at least six weeks before you judge the experiment. Strength comes quietly, and the evidence is usually in the notebook before it is in your body.
What Else Helps
Two things made the biggest difference beyond the dumbbells. The first is a mat with some grip. I use a basic exercise mat on the hardwood floor, and it keeps my hips and spine comfortable during bridges and floor work. The second is a sturdy chair with no wheels. A dining chair works. A desk chair does not. I also do my regular morning walk before strength work, because warm muscles move more easily. Nothing else is required. No bench, no resistance bands, no special shoes. Just the mat, the chair, and the dumbbells, and a small notebook if you want to track progress the way I do. If you have room for a small rack, it keeps the dumbbells tidy and easy to reach. If you do not, a shelf in the closet works just as well.
Around month four I stopped feeling sore and started wondering if it was working. The notebook showed me the truth: I had gone from 8 presses to 12, and I stood up from a chair without thinking.
Start With One Light Pair and a Mat
The Yes4All neoprene dumbbells are comfortable to hold, store easily, and come in sizes you can grow into. Check today's price on Amazon, set your mat out tonight, and start your first 20-minute session tomorrow morning.
Amazon Check Today's Price on Amazon →