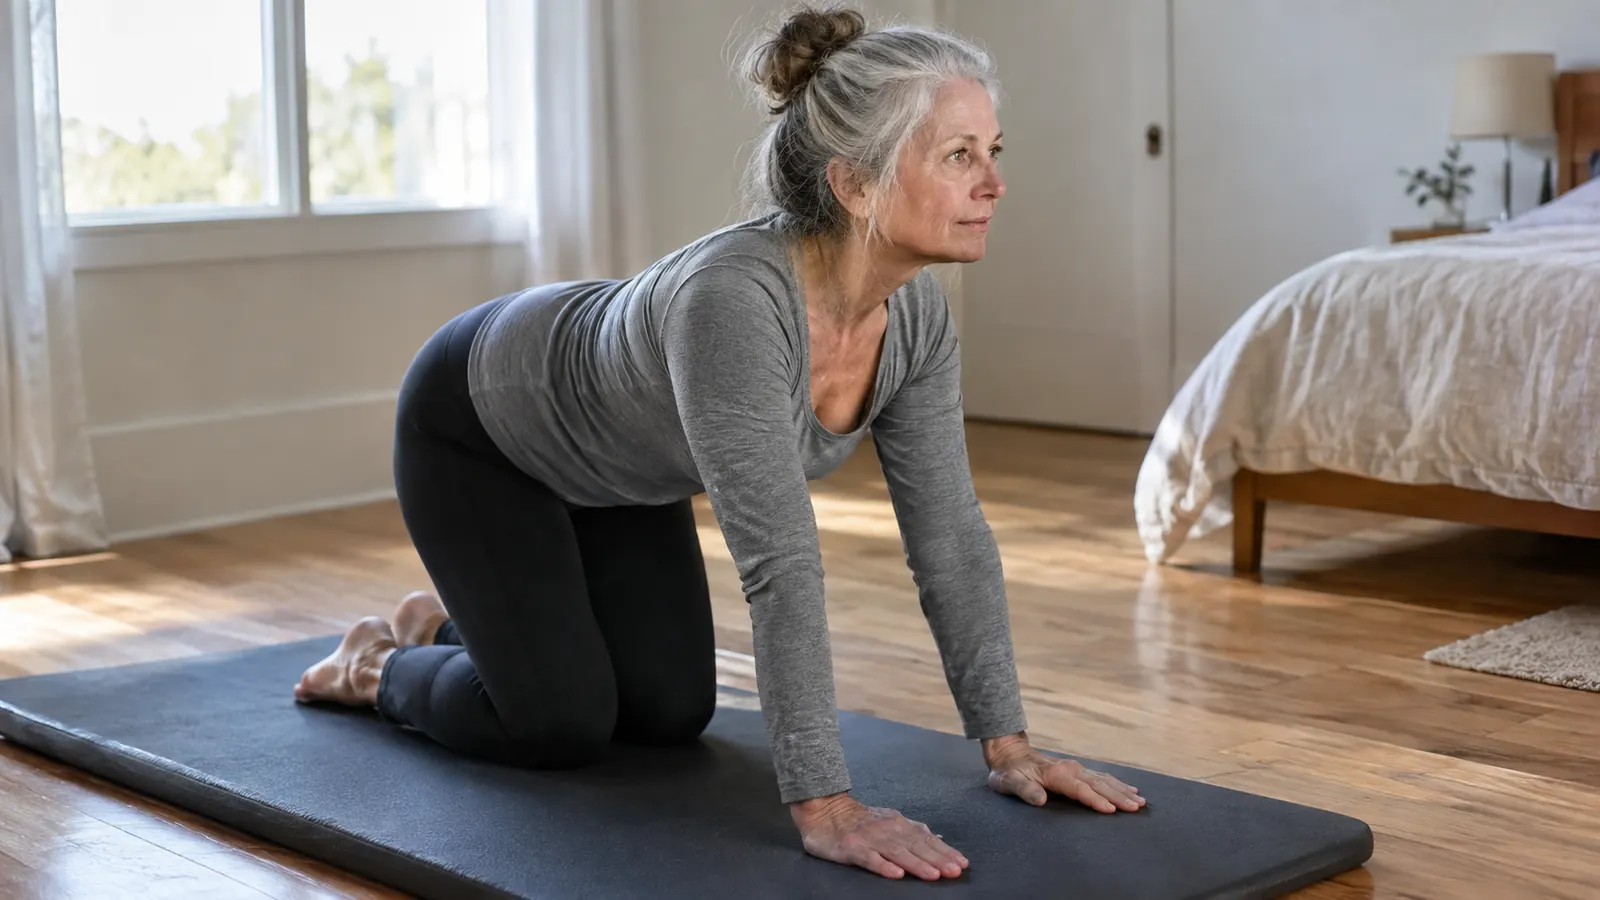
At 62, I have a left knee that complains on stairs and after long drives. Floor work used to be the worst part of my home strength routine. I would kneel on the hardwood floor of my spare bedroom, shift from knee to knee, and still end up sore for two days. A friend of mine, who does yoga every morning, told me I was being stubborn. She said, "You need a mat. Not a thin one. A real one." That is how I ended up with the Fitvids 1/2-inch exercise mat, and it has changed how I feel about floor exercises. I used to avoid the floor altogether, which meant I was skipping the stretches that actually help my knee. Now I look forward to them, because the mat makes the whole thing comfortable.
If you are past 55 and doing any floor work, you know exactly what I mean. The floor does not give. Your knees and hips take the full impact. A mat adds a cushion that lets you hold a position longer and move through exercises with less strain. In this guide, I walk you through the choices that matter: what thickness to pick, where to put the mat, and how to use it so it actually protects your joints. I am not a trainer. I am a 62-year-old retired school administrator who wants to keep gardening and dancing and carrying her own groceries. This is what worked for me, and I think it can work for you too. The key is not to buy the first mat you see, but to understand what your floor and your body actually need.
Give your knees a real cushion
The Fitvids 1/2-inch high density mat cushions your knees and hips on any floor. It rolls up with a carrying strap so you can move it from room to room.
Amazon Check Today's Price on Amazon →Step 1: Choose the right thickness for your floor
Thickness is the first thing to get right. A thin yoga mat, usually around 1/8 inch, is fine for balance work but does almost nothing for your knees. You need at least 1/2 inch of padding, and the Fitvids mat is exactly that. It is high density foam, which means it does not squish flat the way softer mats do. When you kneel, you feel a gentle give, not a hard floor underneath. That give is what saves your joints. I learned this the hard way when I borrowed a thin mat from a neighbor and ended up with a sore knee after one session. The difference between 1/8 inch and 1/2 inch is not subtle. It is the difference between padding that protects and padding that is just a thin layer of fabric.
I tested this on my own floor. I knelt on the Fitvids mat for a three-minute set of knee-strengthening moves. My knees were fine afterward. On the bare hardwood, the same set left me sore the next day. The difference is the thickness. If your floor is concrete or tile, you might want an even thicker mat, but for most home floors, 1/2 inch is the sweet spot. The Fitvids mat is a full-size mat, long enough for me to stretch out fully without my head or feet touching the floor. I am five foot five, and I have plenty of room to lie down and do a full-body stretch. That matters, because a mat that is too short means you are always adjusting your position, which takes you out of the exercise.
One thing I learned the hard way: do not buy a mat that is too soft. Some mats are thick but squishy, and your joints sink in, which is just as bad as a hard floor. High density means the mat supports you without collapsing. That is why I chose the Fitvids. It has the right combination of thickness and firmness. When I press my hand into it, I feel resistance, not a bottomless cushion. That firmness is what keeps your joints stable during a stretch or a plank. If you are unsure, stand on the mat in the store, if you can, and see if your feet sink. You want a mat that gives a little but then holds you up.
Step 2: Lay the mat where you actually do floor work
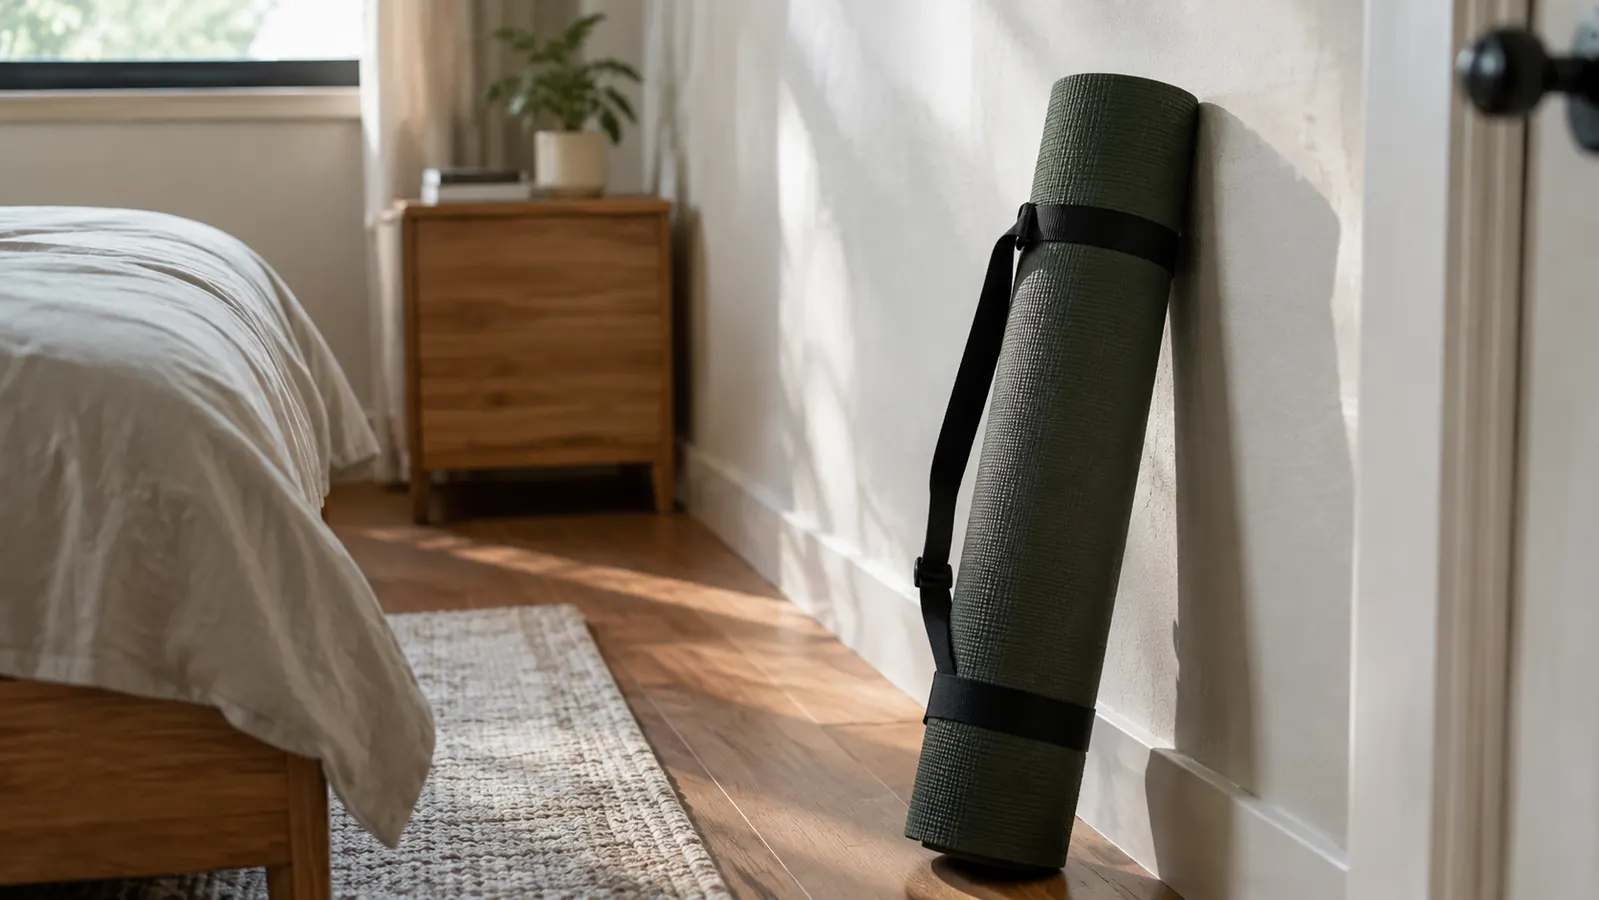
Many people buy a mat and then leave it rolled up in a closet because it is too much trouble to pull out. The Fitvids mat comes with a carrying strap, which makes it easy to take out and put away. But the real trick is to keep it where you will use it. In my small room, I keep it unrolled in the corner, leaning against the wall. That way, I can slide it into place in seconds. It takes less effort than folding a towel. I have seen too many people buy a good mat and then never use it because it is hidden away. The carrying strap is not just for travel. It is for hanging the mat on a hook so it is always visible and ready.
Placement matters more than you think. You want the mat under your knees, hips, and hands, depending on the exercise. For knee work, position the mat so your knees land in the middle, not the edge. For seated stretches, sit on the mat so your hips are cushioned. I also use it under my hands for planks and push-ups, because my right shoulder, which I rehabbed after a fall in 2019, appreciates the extra padding. When I do a plank, I place my hands at the top of the mat so my wrists are on the foam, not on the floor. That small change has made a big difference for my shoulder.
If you do floor work in the living room instead of a spare room, the same rule applies. Keep the mat within arm's reach of where you sit. If it is out of sight, you will skip the exercise. I have a friend who keeps her mat rolled up in a closet and never uses it. Do not be that person. The carrying strap is there so you can hang it on a hook or lean it against a wall. Use it. I have my mat leaning against the wall in the small room, right next to where I do my exercises. It takes me less than ten seconds to unroll it and get started. That is the difference between a routine that sticks and one that fades.
Step 3: Use the mat for knee work
Knee work is where this mat earns its keep. Exercises like kneeling hip flexor stretches, quad stretches, and modified push-ups all put pressure on your knees. With a thin mat, you end up guarding against the pain instead of focusing on the move. With the Fitvids mat, I can do a set of ten slow lunges with my back knee on the mat and feel only the stretch, not the floor. That is the whole point. When your knees are comfortable, you can actually do the exercise correctly. You are not bracing against the pain, which means you get the full benefit of the movement.
Start with simple moves. Kneel on the mat with your knees hip-width apart. Sit back onto your heels for a gentle quad stretch. Hold for thirty seconds, breathe, and come up. The cushion lets you stay in the position longer, which is how you actually loosen a tight joint. I do this every morning before my walk on the river trail. It takes two minutes and it makes the walk easier. I have found that holding the stretch for a full minute, rather than rushing through it, has helped my knee feel more stable. The mat gives me the confidence to stay in that position without worrying about the floor.
You can also use the mat for kneeling exercises that build strength. For example, kneel on the mat and do a wall push-up with your hands on a chair. The mat protects your knees while you work your arms and chest. Over time, this kind of work keeps your knees strong, which is the best protection against falls. The mat is not a cure, but it removes the barrier that keeps you from doing the exercise at all. I also use it for a kneeling balance exercise, where I lift one foot off the floor while kneeling. The cushion makes it possible for me to focus on the balance without being distracted by a hard surface.
Step 4: Support your hips during seated stretches
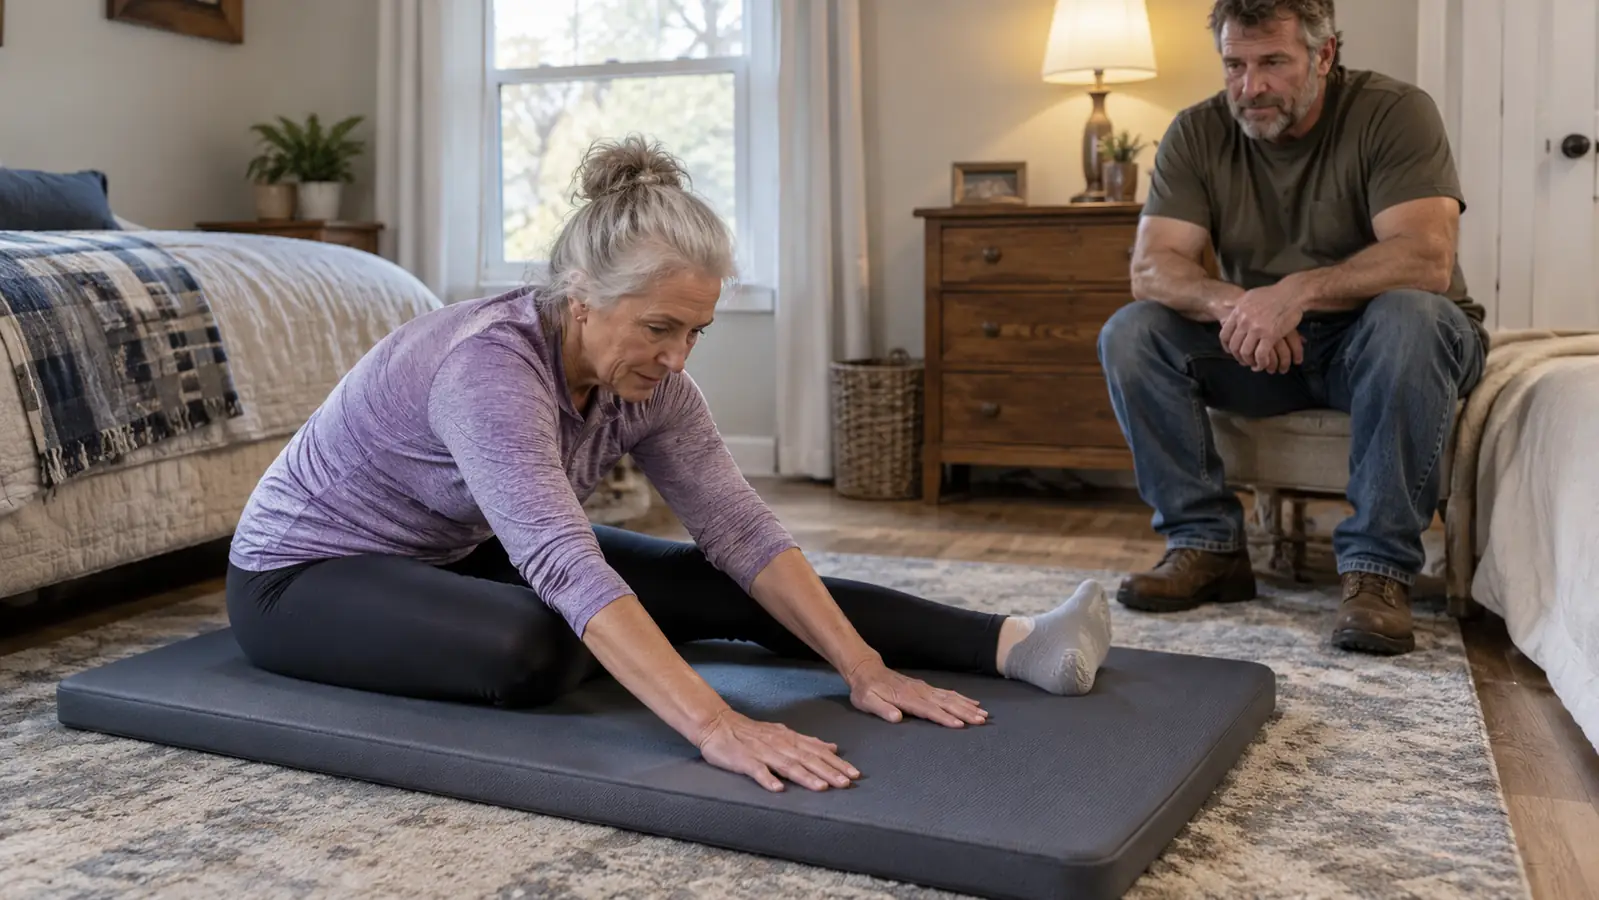
Your hips take a beating on a hard floor. When you sit with your legs out in front of you, your hip bones press right into the floor. A thin mat does not help. The 1/2 inch of padding on the Fitvids mat spreads that pressure out, so you can sit comfortably for longer stretches. I noticed the difference the first time I used it. I sat down for a seated hamstring stretch and realized I was not fidgeting, because the cushion was doing its job. That is when I knew this mat was different from the thin one I had borrowed.
Sitting on the mat changes how much you can do. I do a seated hamstring stretch by reaching toward my toes, and I can hold it for a full minute now, where I used to give up at twenty seconds because my sit bones hurt. The mat also helps for hip openers like a figure-four stretch. You sit on the edge, cross one ankle over the other knee, and lean forward. The cushion keeps your hips happy while you work. I have been doing this stretch three times a week for two months, and I can now touch my toes, which I could not do before. The mat did not do that alone, but it made it possible for me to stay with the routine.
For anyone with hip stiffness, this is the reason to get a mat. A hard floor makes you avoid the very stretches that help. With the Fitvids mat, I actually look forward to my after-walk stretching. It has become part of my routine, three days a week, and my hips feel looser than they have in years. I am not exaggerating when I say the mat made me consistent. Before, I would skip the hip work because it hurt. Now, I do it without thinking. That consistency is what has made the difference in how I feel walking up stairs and getting out of the car.
Step 5: Store it so it lasts
A mat that stays rolled up in a damp closet will develop a smell and lose its shape. The Fitvids mat comes with a carrying strap, which makes it easy to roll up and hang or lean against a wall. I roll mine loosely with the strap around it and keep it in a corner of my small room. It has held up for six months of three-times-a-week use, and it still looks and smells like new. I wipe it down with a damp cloth every couple of weeks, and I never fold it. That care has kept it in good condition, which means I have not had to replace it.
Clean it with a damp cloth and mild soap. Do not fold it, because folding creates creases that never come out. If you use it outdoors, shake it off before you roll it up. A little care means it will still be doing its job in five years. The high density foam does not break down quickly, which is one reason I recommend the Fitvids to friends. I have seen cheaper mats develop a permanent dip in the middle after a few months. This one has not. The foam bounces back, even after a long session.
Storage is also about convenience. Because the mat has a carrying strap, I can take it to the community center where my swing dance class meets. I use it for warm-up stretches on the gym floor. It is light enough to carry over my shoulder, and the strap keeps it from unrolling. If you travel, you can toss it in the trunk and have a clean surface for floor work anywhere. I have used it at a friend's house and on a hotel room floor. The strap makes it easy to transport, and the mat itself is sturdy enough to handle a variety of surfaces.
What Else Helps
Beyond the mat, a few small things make floor work easier on your joints. A folded towel under your knees adds extra cushion when you need it. A firm chair nearby gives you something to hold onto when you stand up. And if you have a shoulder that has been through rehab, like mine, keep your hands directly under your shoulders during any plank or push-up. The mat does the heavy lifting, but those little adjustments matter too. I also keep a small bottle of water and a hand towel on the floor beside the mat, so I do not have to interrupt a set to get up. Having everything within reach means I can do a full routine without breaking my focus.
A 1/2 inch of padding changed my floor work from something I dreaded to something I look forward to.
Make floor work easier on your joints
A thick, high density mat gives you the cushion you need to keep moving. The Fitvids mat is easy to store and built to last.
Amazon Check Today's Price on Amazon →